Joints that take the place of welds and bolts
Structural adhesives, sealants, threadlockers and gasketing. The area responsible for sealing and strength at the joint.
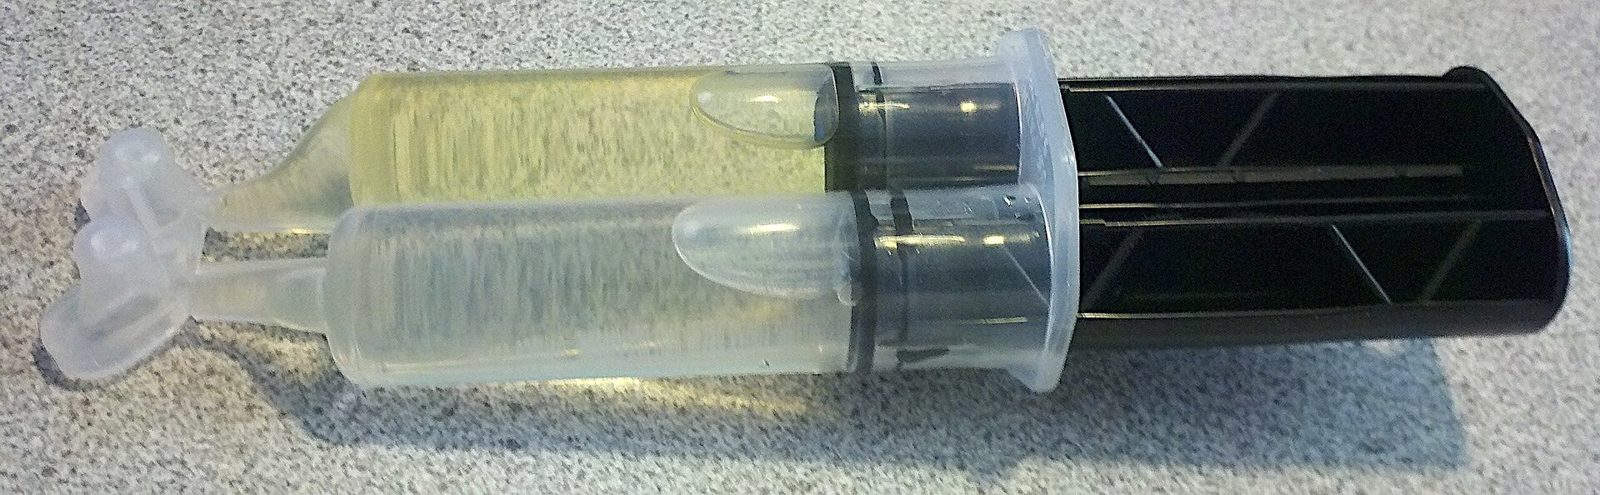
How adhesives differ from sealants
Adhesives and sealants both cure at the joint, but they serve different purposes. An adhesive spreads force across a surface and transfers it, while a sealant fills and closes a gap and absorbs the movement of the parts. Assembly aids take places such as threads, where fastening and sealing apply together. Welding, rivets and bolts are the first ways that come to mind for joining two parts. These methods, however, concentrate force at narrow points, leave heat-affected zones, and make it hard to join dissimilar materials. This area covers products that put a chemically curing material into the joint so force is carried across a surface, or that fill gaps to keep water, air and noise from passing through.
The categories are split by purpose. For sealants and damping, filling matters more than bonding. Because they must absorb the movement as parts expand and contract with temperature, they stay elastic after curing. For adhesives, transferring force is the purpose, so strength after curing comes first, and they are strongly affected by surface condition and curing conditions.
Selection narrows with three questions. First, does the joint move or stay fixed? Movement points to a sealant; load points to an adhesive. Second, will paint go on top after curing? Some materials do not take paint, depending on the chemistry, so the order needs to be settled in advance. Third, will the joint need to be taken apart later? If rework is planned, consider materials that do not cure and stay tacky.
- 367
Process conditions checked before a recommendation
- 7x
Cleanup cost against the value of oil lost at a leak
Sealants & Damping
Materials that fill gaps to block water and air, and also absorb the movement and vibration of the parts. Silicone, urethane and MS polymer differ in how far they stretch, whether they can be painted, and the environments they withstand. 6 industries call for this category: EV & Batteries, Data Centers, Aerospace, Space, Automotive Parts and more.
- Silicone sealant
- Polyurethane sealant
- MS polymer sealant
- Butyl sealant and tape
- Hybrid sealant
- Firestop sealant
- Damping material
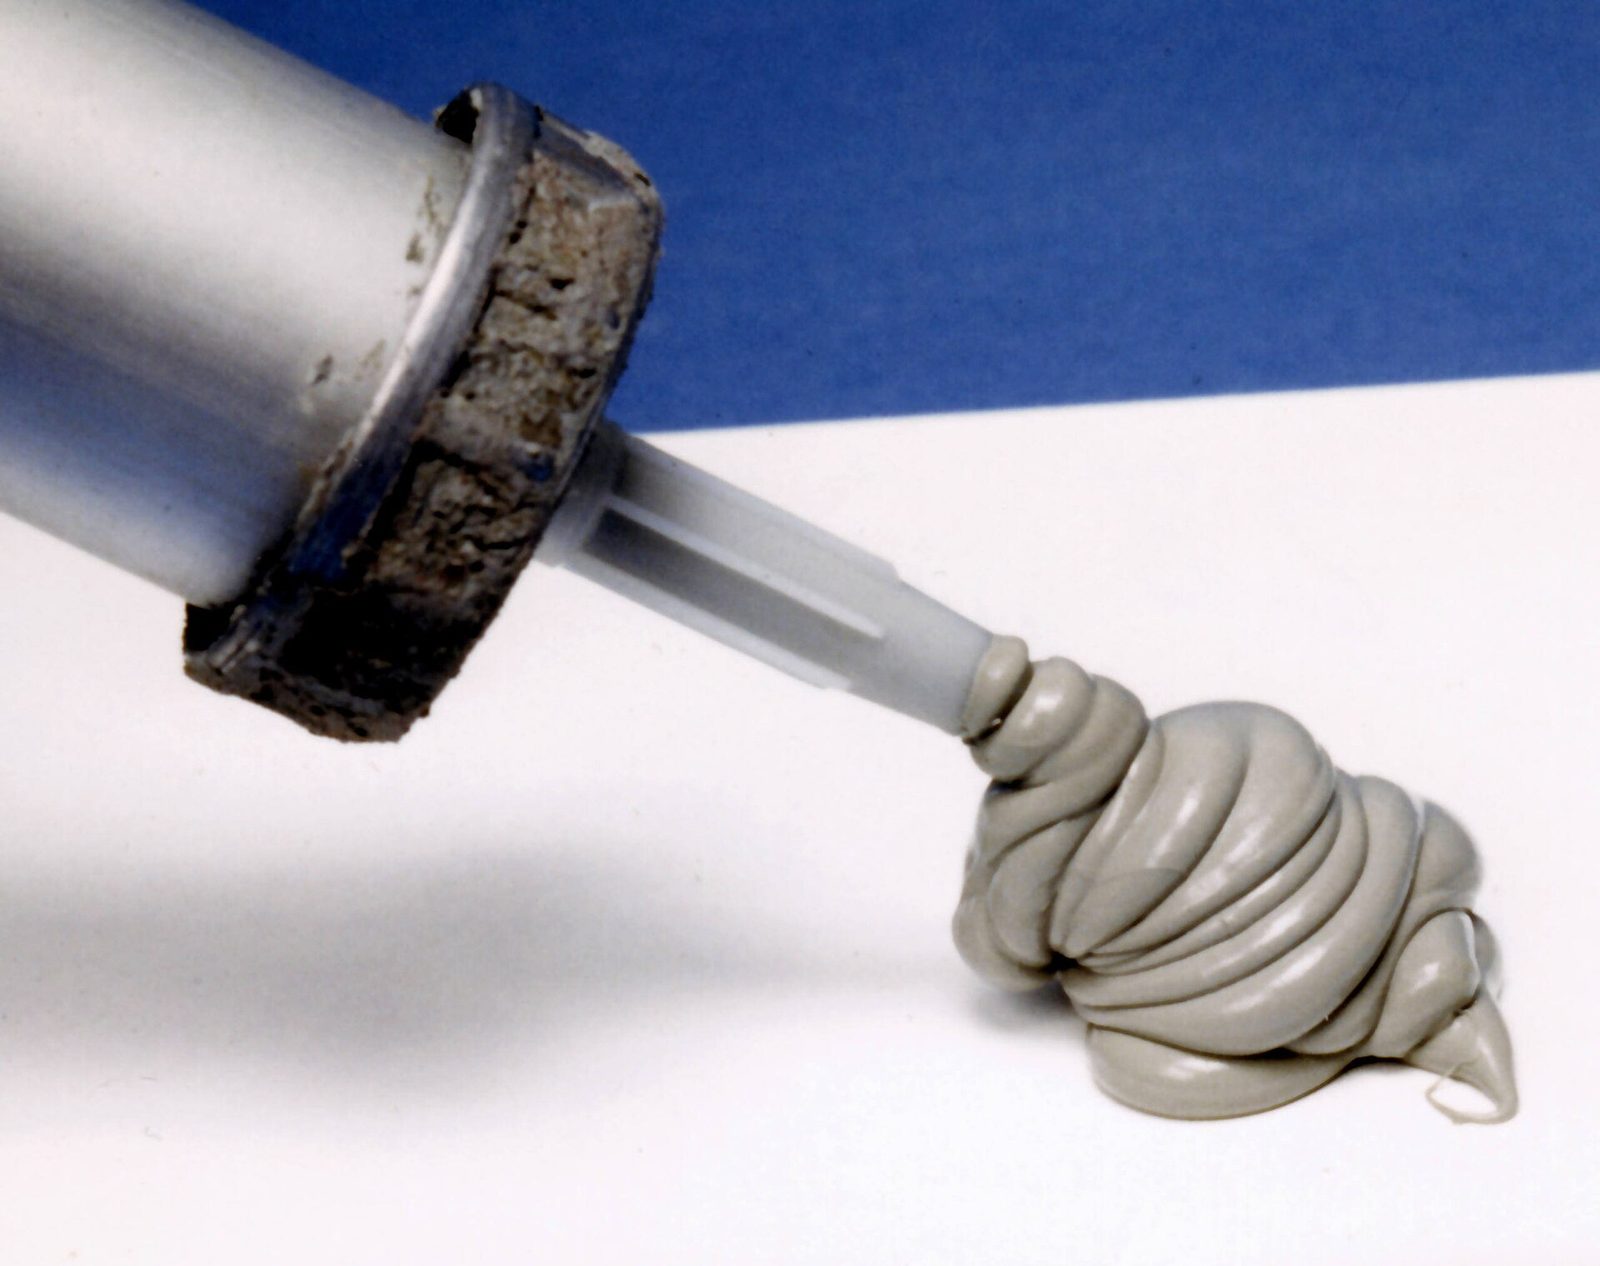
Adhesives
Spreads force across the whole joint surface to make a joint that takes the place of welding or fastening. Load-bearing structural epoxies and fast-grabbing instant adhesives differ from the way they cure. 13 industries call for this category: Electronics & Display, Automotive Parts, Semiconductors, Wind, Aerospace and more.
- Structural adhesive
- UV-curing adhesive
- Instant adhesive
- Hot-melt adhesive
- Adhesion primer and activator
- Liquid gasket
- Threadlocker and pipe sealant
FAQ
A bond has failed. What should we check first?
Put the two failed faces side by side and look at where the adhesive stayed. If one face is clean, the failure is adhesive, at the interface: the adhesive never wetted that surface properly or the interface degraded later. A face that looks clean can still carry a thin adhesive film, so check it under magnification or with a water-break test first. If a thin film remains, the weak zone was the adhesive right next to the interface, so look at cure and at weak boundary layers such as loose oxide. If there is no film, the cause is usually on the surface side, so suspect oil, release agent, oxide, handling contamination, a missed primer, or a primer left too long before bonding.
If adhesive remains torn across both faces, the failure is cohesive and the adhesive itself gave way. Then check for under-cure, wrong mix ratio or poor mixing, loads beyond the adhesive's capability, and above all a joint design that puts the bond into peel or cleavage. If the substrate tore first, the bond did its job and the part or the design needs another look.
The baseline surface prep sequence is degrease, abrade, degrease again. Abrading alone pushes oil into the scratches, so clean before and after, and use a wet cloth followed by a separate dry cloth so the solvent does not just spread the contamination around. On metals, a water-break test per ASTM F22, where a clean surface holds a continuous water film, gives an immediate shop-floor check of cleanliness.
Why do PP and PE refuse to bond, and what can we do about it?
An adhesive has to wet a surface before it can bond, and a liquid spreads well only on surfaces whose surface energy exceeds its own surface tension. Polypropylene, polyethylene and PTFE have low surface energy and almost no polar groups, so most adhesives bead up on them instead of spreading. Surfaces carrying silicone or fluorinated release agents behave the same way.
You either change the surface or change the adhesive. Polyolefin primers, plasma, corona and flame treatment all create polar groups on the surface. Alternatively, acrylic structural adhesives formulated for low-surface-energy plastics bond many grades with no pretreatment beyond a solvent wipe to remove release agent and dust. For small parts, cyanoacrylate paired with a polyolefin primer is a common route. These routes are for polyolefins; PTFE usually needs chemical etching.
The point often missed is that treatment decays. Plasma- or corona-treated parts left in storage gradually lose their activation, so set a maximum time between treatment and bonding. Dyne ink testing or contact angle measurement gives a quick lot-by-lot check that the surface is still where it needs to be. The dyne ink standards, ASTM D2578 and ISO 8296, are written for film, so set your own acceptance level when applying them to moulded parts.
How do pot life, open time, fixture time and full cure vary with heat and humidity?
Pot life is how long mixed two-component material stays workable in the container; open time is how long applied adhesive can wait before the parts are joined. Past the open time, viscosity climbs and the surface starts to react, so wetting drops and the joint may look bonded without developing strength. Fixture time is when the part can be handled without a jig; full cure is when the datasheet properties are actually reached. That is why a pressure test or service load should not be applied at fixture time.
Reactive adhesives speed up when warm and slow down when cold. A familiar rule of thumb is that reaction rate roughly doubles for every 10 °C rise, though the factor varies by product, and the lower limit matters more. An epoxy cured too cold can stall with a low glass transition temperature. Post-cure heating often recovers much of it. Cold, humid conditions can also leave amine blush on exposed surfaces, which weakens the interface if you bond or coat over it, so wash it off with water first. Weak bonds from winter site work or cold metal parts should raise this suspicion first.
Humidity works differently by chemistry. Moisture-cure sealants and cyanoacrylates use atmospheric water as the curative, so dry air slows them. In two-component polyurethanes, moisture reacts with isocyanate and produces carbon dioxide bubbles. The same product can need different process timing by season and by plant location.
Moisture-cure sealant has skinned over but is still soft underneath. Is that normal?
Usually, yes. One-component silicone, polyurethane and MS polymer sealants cure from the outside in as atmospheric moisture diffuses into the bead. A skin forms first, then the cured layer grows a few millimetres in the first 24 hours and slows progressively with depth. Datasheet cure-depth figures are normally quoted at 23 °C and 50% relative humidity, so cold or dry conditions will be slower.
The real problem is where moisture cannot reach. Deep narrow joints, cavities closed by metal or glass on all sides, and thick masses may take a very long time to cure through, or never fully cure. In those places, look at two-component systems that cure by mixing, or heat-cure systems.
Skin time is also your tooling deadline. Tooling after the skin has formed wrinkles the surface and can separate skin from core, which later shows up as a bond defect. If the joint moves strongly before cure is complete, the soft interior can tear, so high-movement joints are best sealed when the joint is near the middle of its expected width range and temperature is stable.
Acetoxy or neutral-cure silicone: how to pick, and what to watch near electronics?
Acetoxy silicone releases acetic acid as it cures. It bonds quickly and well to glass and ceramics, but it corrodes copper, brass, galvanised zinc and mirror backings, and it reacts with alkaline substrates such as concrete and marble, weakening adhesion. Near metals, stone and electrical parts, neutral cure is the default, and on porous stone use grades shown to be non-staining, for example by ASTM C1248.
Neutral cure is not one thing. Oxime grades release methyl ethyl ketoxime, which can tarnish copper and brass and stress-crack some polycarbonates. When using oxime grades, check the ketoxime released during cure against the SDS and your workplace exposure rules. Alkoxy grades release alcohol and are usually less corrosive, which is why they are generally preferred for electronics. Start by checking the cure by-product on the datasheet or SDS.
The less obvious electronics risk is low-molecular-weight siloxane. Volatile cyclic siloxanes from ordinary silicones can settle on relay and switch contacts, where arcing converts them to insulating silica and causes contact failure. Near relays or contacts in closed housings, avoid silicone where possible; low-volatile electronics grades reduce the risk but do not remove it. Keep silicone handling areas away from paint lines as well.
How should we design a sealant joint, and how do we read ISO 11600 classes?
ISO 11600 splits building sealants into type G for glazing and type F for facades, and classifies them by movement capability, the movement the sealant can accommodate expressed as a percentage of joint width. At the same movement capability, a lower-modulus product puts less stress on the bond line, which suits porous substrates and high-movement facades. North America uses ASTM C920, and CE marking in Europe uses EN 15651, so confirm which regime a rating comes from and compare within that regime.
Required joint width is the expected movement divided by the sealant's movement capability. Thermal movement is panel length times the coefficient of thermal expansion times the temperature range, taken between the extremes of the material's surface temperature rather than air temperature. If that total movement is 5 mm and the sealant's movement capability is 25%, the joint needs to be at least 20 mm wide. This is a conservative calculation for when the installation temperature is unknown; an allowance for construction tolerance is normally added on top, and ASTM C1472 covers how to account for these factors in setting the width.
Profile matters as much as class. The sealant must bond to the two side faces only, never to the back, so it can stretch freely. Three-sided adhesion locks the bead and it tears from the corners, so break the back with a closed-cell backer rod or bond-breaker tape. Keep depth less than width to get an hourglass section; too thin and it tears, too thick and stress concentrates at the bond line.
How do we control bond-line thickness and gap filling with structural adhesives?
Structural adhesives reach their rated strength within the bond-line thickness range the datasheet recommends. Too much clamp pressure squeezes the adhesive out and starves the joint; too thick a line lowers shear strength and increases shrinkage and internal stress. To hold thickness, use grades loaded with glass beads of a defined diameter or set the gap with fixtures.
Each chemistry handles gaps differently. Epoxies are strong on close-fitting faces, but a thick mass can overheat from its own exotherm. Polyurethanes stay flexible, which suits wide gaps and dissimilar materials with different thermal expansion. Methacrylate acrylics tolerate lightly oily metal, and many grades handle wider gaps than typical epoxies.
Many strength problems come from load direction, not the adhesive. Bonded joints are strong in shear and compression and weak in peel and cleavage. Stress concentrates at the ends of a lap, so beyond a certain overlap length, extra length adds little strength. Reshaping the joint so the ends are not peeled, or adding a mechanical fastener, often does more than switching adhesive.
If the sealant will be painted over, should we pick MS polymer, PU or silicone?
Silicone does not accept paint, so leave it out wherever coating will follow. The bigger issue is contamination: silicone carried on tools, gloves or air onto surfaces to be painted causes craters and fish-eyes, which is why many plants with paint lines segregate or ban silicone outright. Automotive paint shops go further and control all paint-wetting impairment substances under rules such as VDMA 24364.
PU sealants combine paintability with mechanical toughness. Aromatic grades yellow and chalk in UV, so they fit well where paint will cover them. MS polymer and hybrid sealants bond to a wider range of substrates without primer, hold up better in UV, and depending on the product can be painted wet-on-wet or shortly after skinning.
Whichever you pick, test the actual paint over the actual sealant, for example with a compatibility test such as DIN 52452-4. Some coatings, oxidative-drying alkyds among them, can dry slowly over certain sealants, and a rigid paint film over a high-movement joint will crack even though the sealant underneath stretches. For moving joints, consider leaving the joint unpainted or using an elastomeric coating.
How do we pick a threadlocker strength grade and later take the fastener apart?
Anaerobic threadlockers cure in the thread gap where air is excluded and metal ions are present, which resists vibration loosening and seals the thread at the same time. Grades run low, medium and high strength, and the choice rests on how often the joint is opened and how big the fastener is. Low strength suits fasteners removed at every service and small screws, medium suits joints that must come apart with hand tools, and high strength is for permanent assemblies. High strength on a small screw can shear the screw before the threadlocker lets go. Strength is typically reported as breakaway and prevailing torque measured on a bolt and nut per ISO 10964.
High-strength joints rarely release at room temperature with ordinary tools. Heat the joint locally to the temperature given on the datasheet and break it loose while hot. If heat-sensitive parts are nearby, choosing a lower grade at the outset saves maintenance time.
Cure speed depends heavily on the metal. Carbon steel and brass are active and cure fast; stainless steel, plated surfaces and anodised aluminium are inactive and may cure slowly or incompletely, so use an activator or a primerless grade formulated for inactive metals. Wicking grades exist for fasteners that are already assembled, and pipe threads take dedicated thread sealant grades. Some anaerobics stress-crack thermoplastics, so confirm compatibility before using them on plastic pipe.
How do anaerobic and RTV silicone gaskets differ, and when is a cut gasket right?
Anaerobic gasket makers cure once two metal faces close and exclude air. They suit rigid, machined flanges with small gaps, and because the faces end up metal to metal, bolt load is not lost to gasket creep. Material squeezed outside the flange stays uncured in air and simply wipes off.
RTV silicone cures with atmospheric moisture and stays elastic, so it suits flexible stamped covers and larger gaps. Assemble before it skins, and unless the datasheet permits immediate return to service, do not fill with oil or coolant before it has cured. Filling earlier can weaken adhesion and sealing. Where it will see engine or gearbox oil, confirm it is an oil-resistant grade.
A cut gasket is still right in several cases: when gasket thickness is part of a design dimension such as bearing preload or gear backlash, when faces are too warped or rough for a formed-in-place bead, on inspection covers opened often, when the joint must hold pressure immediately with no cure time, and where certified gaskets are required, as with high-pressure steam or specific chemicals. Converting these to formed-in-place gaskets tends to create leaks or stack-up problems.
Cyanoacrylate leaves a white haze and the bond breaks easily on impact. Why?
The white haze is blooming, also called frosting. Cyanoacrylate monomer evaporates, meets moisture on nearby surfaces and polymerises there as a powder. It gets worse with excess adhesive, slow cure and enclosed, poorly ventilated spaces. Use the minimum amount, shorten cure with an accelerator, and specify low-odour, low-bloom grades for cosmetic parts. Choose an accelerator suited to low-bloom work, and note that heating the part raises monomer evaporation and can make blooming worse.
Cured cyanoacrylate is hard with almost no elongation, so it is strong in shear but weak in peel, impact and thermal shock. Rubber-toughened grades narrow that gap; if a joint sees continuous impact or vibration, a structural acrylic or epoxy is the better fit.
Cure is triggered by surface moisture, so wide gaps and acidic surfaces cure slowly and incompletely. Cyanoacrylate works as a thin film between mating faces, not as a gap filler; if gel grades and accelerators still cannot close the gap, change the chemistry.
Hot melt bonds slip or let go in summer or hot processes. How do we judge this?
Conventional hot melts are thermoplastic and soften again as temperature rises. Under sustained load they creep well below their softening point, so the softening point alone is not a service limit. Compare grades on shear or peel adhesion failure temperature tests run under load with rising temperature, such as SAFT and PAFT, which sit much closer to real conditions. Load and heating rate in these heat-resistance tests vary between suppliers, so only values measured under the same conditions can be compared.
Heat resistance follows the base polymer. EVA is general purpose and economical but sits at the lower end; polyamide and some polyolefin types hold to higher temperatures. If parts see hot shipping containers, hot washing or drying ovens, look at reactive PUR hot melts, which crosslink with moisture after application and do not remelt. Reactive PUR contains isocyanate, so follow the exposure controls given in the SDS.
There is a cold side too. Hot melts turn brittle at low temperature, and on cold metal they chill on contact before they can wet the surface. If bonds look fine at first but later fail at the interface, check substrate preheating and the time from application to compression first.
How should we manage shelf life and storage for adhesives and sealants?
Shelf life applies to unopened product stored as the datasheet specifies. Moisture-cure cartridges pick up water through the packaging and cure from the nozzle back; isocyanate hardeners for two-component PU are moisture sensitive; water-based products may not recover after freezing. Alongside first-in first-out, logging warehouse temperature makes it easier to narrow down causes when something goes wrong.
Each chemistry has its own trap. Anaerobic bottles are deliberately part-filled with air, so topping them up, or pouring dispensed product back in, can introduce metal contamination and cure the contents in the bottle. Cyanoacrylates keep best refrigerated unopened, but let them reach room temperature before opening or condensation gets in. A white, crystallised epoxy resin can usually be warmed to redissolve and then used, once it has cooled back to room temperature before mixing.
If you must decide whether expired stock is usable, decide by test, not by eye. Re-run the incoming checks such as skin time, extrusion rate, cured hardness or bond strength, and follow the requalification procedure in your quality system. For hot melts, long dwell in a hot tank causes charring and discolouration, so drop tank temperature during idle periods.
How do we pick damping material for vibration and noise, and can sealant do it?
Damping materials do not block anything; they are viscoelastic and turn vibration energy into heat. They work well on structure-borne noise from resonating panels, whereas airborne leaks through gaps need sealing and sound passing through a wall needs mass in the form of a barrier. Separate the noise paths first, then pick the material.
There are two main formats. Free-layer damping, bonded or sprayed onto the panel, dissipates energy as the layer stretches and compresses with panel bending. Constrained-layer damping sandwiches a thin viscoelastic layer between two sheets and works in shear, dissipating more energy for the same thickness. Placement matters: treat the areas of greatest motion, the antinodes, which for low-order modes are usually towards panel centres.
The loss factor of a viscoelastic material varies strongly with temperature and frequency and peaks around its glass transition. A damper that performs well in a room-temperature test can do little at operating temperature. Compare candidates on loss factor data measured across temperature, for example per ASTM E756, at your service temperature and problem frequency; for vehicle panels, SAE J1637 data, which builds on ASTM E756 and reports the composite loss factor of the material on a steel bar, is often used. A general-purpose sealant is not designed for damping, so do not use one as a substitute unless the supplier publishes loss factor data for it.
What should we check in firestop sealant for fire-rated penetrations and joints?
Firestop sealants are approved as tested systems, not as products. The wall or floor type and thickness, the penetrating pipe or cable type and size, the annular gap, the backing material and depth, and the sealant fill depth are all part of the test. If the combination falls outside the field of application set by the test standard, the same sealant is no longer approved, so start by finding, to match site conditions, a European Technical Assessment in Europe, or in North America a listed system or an engineering judgement issued under International Firestop Council guidelines.
In Europe, penetration seals are tested to EN 1366-3 and linear joint seals to EN 1366-4, and classified under EN 13501-2 for integrity E and insulation I in minutes. In North America, penetrations are tested to ASTM E814 or UL 1479 for F and T ratings, joints to UL 2079 or ASTM E1966, and perimeter joints between exterior wall and floor to ASTM E2307. In both regimes, claiming movement capability for a joint requires movement applied before the fire test. The test conditions still differ, so a result under one regime does not carry over directly to the other.
The usual site problem is a combination no system covers. Plastic pipes soften and burn away and need a system with intumescent material or a fire collar; high-movement joints need a system tested for movement. Filling with ordinary sealant or mixing manufacturers takes the seal outside its approval. After installation, label each seal with its listed system reference so inspection and later re-penetration can be traced.